For beginners who are new to drones, the flight controller, as the "brain" of a drone, directly determines the flight safety and control experience of the drone based on whether its selection is appropriate and its debugging is in place. Many beginners feel confused when facing a wide range of flight controller products and complex debugging processes. This article will provide beginners with a clear and easy-to-understand operation guide from the key factors of selection to the basic debugging steps, helping everyone avoid detours.
Selection of Drone Flight Controllers: Finding the First Step Suitable for Beginners
The selection of a flight controller is not about choosing the most expensive one or the one with the most complete functions. Instead, it is about finding a product with the "highest adaptability" based on one's own needs, budget, and technical foundation. When selecting a flight controller, beginners should focus on the following 4 core dimensions:
Clarify the Usage Scenario: Match the Functional Positioning of the Flight Controller
Different usage scenarios have significantly different requirements for flight controllers. Beginners should first determine the purpose of their drones:
Entry-Level Entertainment Scenarios (such as aerial photography, casual flying): Priority should be given to "user-friendly" integrated flight controllers. These flight controllers are usually pre-installed with basic flight algorithms and support functions such as one-click takeoff and automatic return, without the need for complex parameter settings.
Simple Operation Scenarios (such as small-scale agricultural spraying, low-altitude inspection): Flight controllers that support altitude hold and route planning should be selected, balance stability and basic operation functions.
DIY Exploration Scenarios (such as assembling small multi-rotors, experimental flying): Open-source flight controllers are a better choice, They not only have lower costs but also allow learning the principles of flight controllers through custom parameters, but they require a certain foundation in computer operations.
Focus on Core Parameters: Avoid "Performance Traps"
Beginners do not need to pursue extreme parameters excessively. It is sufficient to focus on the following 3 key indicators:
Processor Performance: For entry-level flight controllers, a 32-bit processor (such as the STM32F4 series) is sufficient to meet the needs. There is no need to blindly pursue high-end 64-bit chips to avoid operational complexity caused by redundant functions.
Sensor Configuration: At least "gyroscope + accelerometer + barometer" should be included. The gyroscope and accelerometer are used for attitude perception, and the barometer realizes the altitude hold function. If you need to improve positioning accuracy, you can choose a flight controller with a GPS module.
Compatibility: Confirm that the number of motors supported by the flight controller (such as 4-axis, 6-axis) and the remote control protocol (such as PWM, SBUS) match the drone frame, motor, and remote control you purchased to avoid the situation of "unusable after purchase".

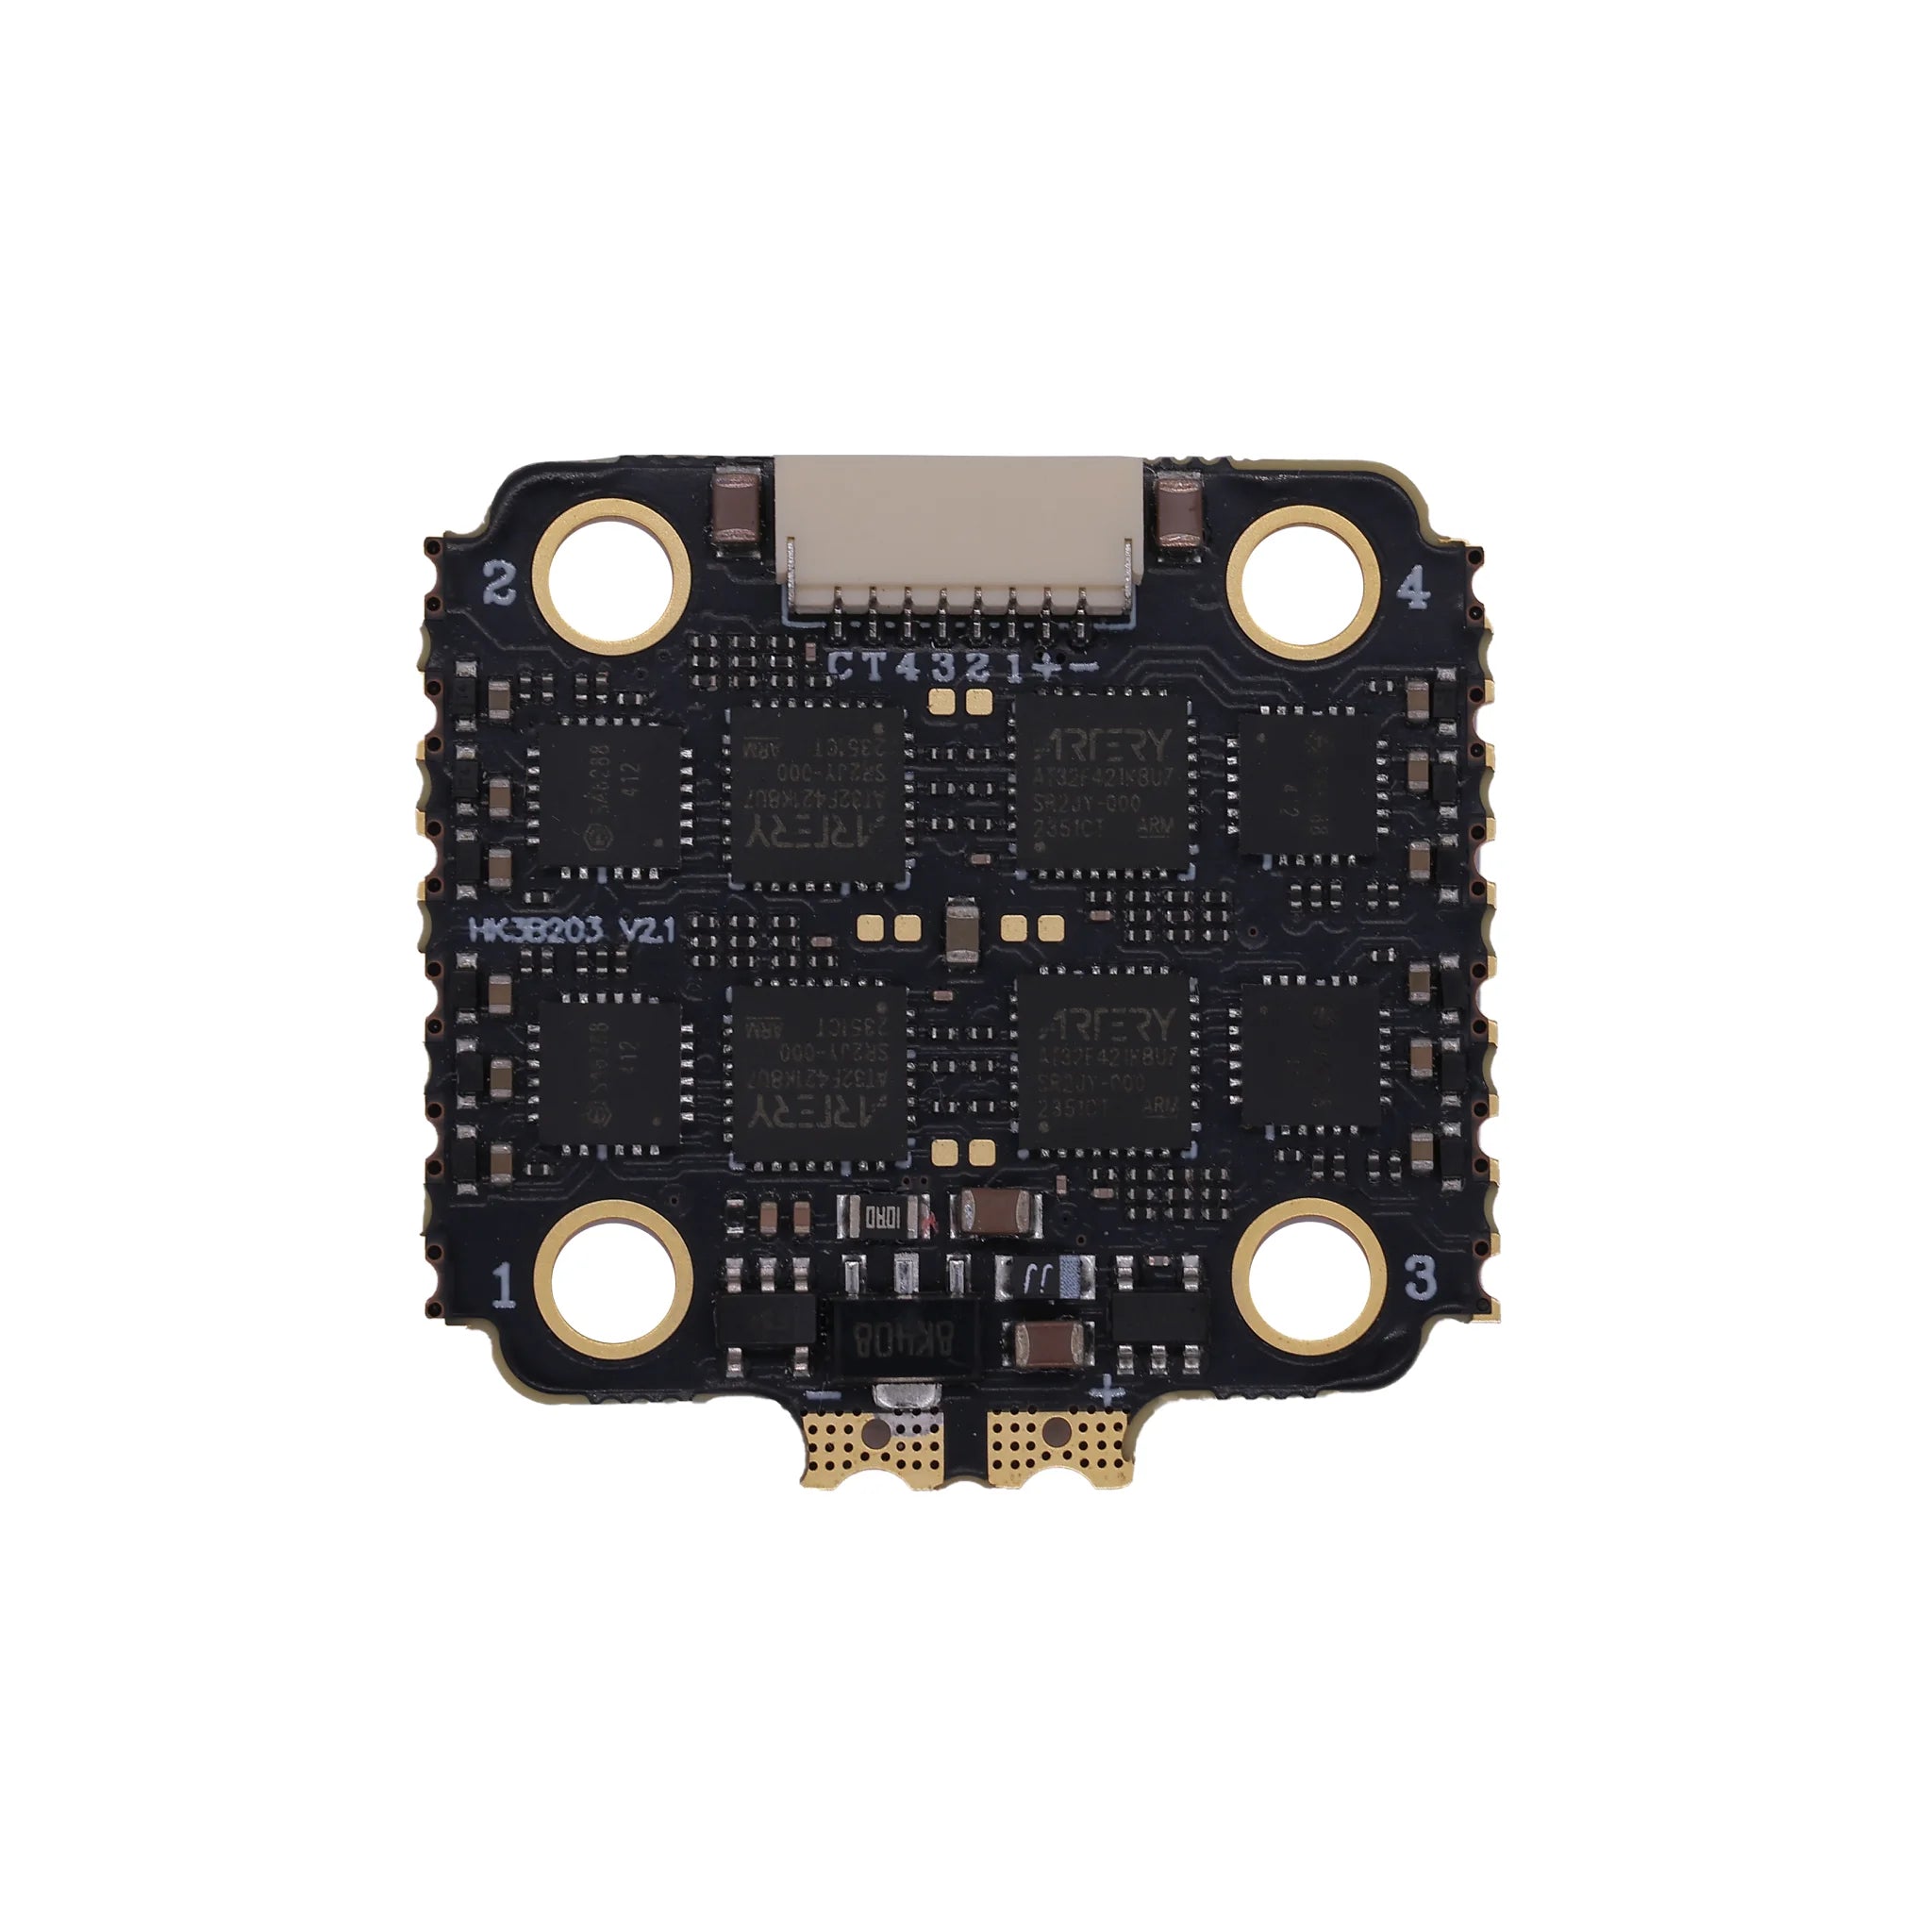
Hakrc F4520V2 Flight Controller
Basic Debugging of Flight Controllers: A 5-Step Process from "Connection" to "Test Flight"
Flight controller debugging is a key link to ensure the safe flight of the drone. Beginners need to follow the principle of "software first, hardware later; static first, dynamic later" and gradually complete the following 5 steps. During the debugging process, it is recommended to connect to a computer throughout and use the flight controller's supporting software for operation.
Step 1: Hardware Connection — Ensure "Correct Connection Without Mistakes"
Hardware connection is the foundation. Beginners need to check the correctness of the wiring one by one according to the flight controller manual, focusing on the following 3 details:
Power Connection: The power interface of the flight controller must match the battery voltage (for example, a 3S lithium battery corresponds to an 11.1V interface), and the positive and negative poles cannot be reversed. It is recommended to connect the flight controller power first, then the motor and sensor power to avoid component damage caused by current impact.
Signal Connection: The remote control receiver corresponds to the signal interface (such as SBUS, PPM) of the flight controller, and the motor signal wire is connected according to the "motor number" marked in the flight controller manual (for example, a 4-axis drone is usually marked M1-M4, corresponding to the front, rear, left, and right motors of the frame).
Sensor Connection: External sensors such as GPS modules and compasses need to be far away from motors and power lines to avoid electromagnetic interference. The GPS antenna should be placed upward as much as possible to ensure stable signal reception.
Step 2: Software Configuration — Complete "Basic Settings"
After connecting the flight controller to the computer, open the supporting debugging software and complete the following 3 core configurations:
Firmware Flashing: For open-source flight controllers (such as PX4), it is necessary to first flash the firmware corresponding to the aircraft model (such as 4-axis firmware, 6-axis firmware); commercial flight controllers are usually pre-installed with firmware, and it is only necessary to confirm that the firmware version is the latest to avoid faults caused by bugs in the old version.
Remote Control Calibration: According to the software prompts, push the throttle and direction lever of the remote control to the maximum and minimum positions in sequence to complete the "joystick calibration", ensuring that the flight controller can accurately receive the remote control signal. During the calibration process, avoid touching the joystick to prevent data deviation.
Sensor Calibration: Focus on completing "gyroscope calibration", "accelerometer calibration", and "compass calibration":
Gyroscope Calibration: Place the drone horizontally, click "Start Calibration" in the software, and keep the drone stationary during the process until the calibration is completed.
Accelerometer Calibration: According to the software prompts, place the drone in 6 attitudes in sequence: "horizontal upward, horizontal downward, front upward, front downward, left upward, right upward", and keep each attitude for 2-3 seconds to ensure accurate data collection.
Compass Calibration: Stay away from metal objects (such as computers, mobile phones), and slowly rotate the drone 360 degrees according to the prompts to complete the magnetic field calibration, avoiding positioning deviation caused by compass interference.
3. Step 3: Parameter Adjustment — Beginners Focus on "3 Key Parameters"
Beginners do not need to adjust complex parameters, and focus on optimizing the following 3 parameters that affect flight stability:
Sensitivity Parameters: Including "attitude sensitivity" and "angular velocity sensitivity". Beginners are advised to adjust the attitude sensitivity to a medium level (such as 80% of the software default value). Excessively high sensitivity will cause the drone to respond too sensitively and easily shake; excessively low sensitivity will cause control delay and make it difficult to control the direction.
Altitude Hold Parameters: If the flight controller supports the altitude hold function, it is necessary to set the "altitude hold dead zone" (such as ±0.5 meters). A too small dead zone will cause the drone to adjust the altitude frequently and appear "up and down fluctuation"; a too large dead zone will cause obvious altitude deviation. It is recommended to fine-tune according to the software default value.
Fail-Safe Protection Parameters: Be sure to enable the "fail-safe return" function and set the "fail-safe return altitude" (it is recommended to be 2-3 meters higher than the surrounding obstacles) to ensure that the drone can automatically return when the remote control signal is lost, avoiding loss or crash.
4. Step 4: Static Test — "Power-On Inspection" to Eliminate Hidden Dangers
After completing the software configuration, conduct a static test to confirm that all functions are normal:
Motor Rotation Direction Test: Turn on the power, gently push the remote control throttle lever, and observe whether the motor rotation direction is consistent with that marked in the flight controller manual (for example, the front-left motor of a 4-axis drone usually rotates counterclockwise, and the front-right motor rotates clockwise). If the rotation direction is wrong, it can be adjusted by swapping the motor signal wire or modifying the "motor rotation direction parameter" in the software.
Signal Strength Test: Check the remote control signal and GPS signal strength (for example, the number of GPS satellites needs to be more than 8) to ensure stable signals. If the GPS signal is weak, you can move to an open area to recalibrate.
Function Test: Test basic functions such as "one-click takeoff", "one-click return", and "altitude hold" to confirm that the flight controller can respond normally without delay or stuck.
5. Step 5: Test Flight Debugging — "From Low to Slow" to Gradually Adapt
After the static test is correct, conduct a test flight. Beginners need to follow the principle of "low altitude, slow speed, short distance":
First Test Flight: Choose an open site without obstacles (such as an empty playground), take off the drone to a height of 1-2 meters, hover for 30 seconds, and observe whether it is stable. If there is shaking, the attitude sensitivity can be fine-tuned.
Control Test: Slowly push the remote control direction lever to test the functions of forward, backward, left, and right movement, and feel the control feel. If direction deviation is found, the "channel reverse" parameter can be adjusted in the software.
Troubleshooting: If problems such as "drone tilt" and "unstable altitude" occur during the test flight, it is necessary to land immediately, check whether the sensor calibration is correct and whether the motor connection is loose, and conduct the test flight again after eliminating the problems. Do not force the flight.

Hakrc F4530 V2 Flight Controller
Common Misunderstandings and Pitfall Avoidance Guide for Beginners in Debugging
Misunderstanding 1: Skipping Calibration and Directly Conducting Test Flight — Failure to calibrate the sensor will cause the drone's attitude to be out of control, ranging from shaking to crashing. Be sure to complete all sensor calibrations.
Misunderstanding 2: Blindly Pursuing "High-Performance Parameters" — Beginners who excessively adjust complex parameters (such as PID parameters) are likely to cause the flight controller to be unstable. It is recommended to use the software default parameters initially and gradually optimize them after becoming familiar with the operation.
Misunderstanding 3: Ignoring the Setting of Fail-Safe Protection — Failure to enable the fail-safe return function may cause the drone to fly out of control once the signal is lost. Be sure to confirm that the fail-safe protection parameters are correct during debugging.
Misunderstanding 4: Improper Selection of Test Flight Site — Test flying in areas with high-rise buildings, power lines, and dense crowds is prone to collisions. The first test flight should be conducted in an open and interference-free site.
For beginners, the selection and debugging of flight controllers is a process of "from unfamiliar to familiar", and there is no need to rush for success. It is recommended to first clarify their own needs through selection, then operate step by step according to the debugging process, and confirm that each step is correct before proceeding to the next step. This not only ensures flight safety but also gradually accumulates knowledge of flight controllers, laying a foundation for in-depth learning in the later stage. With the improvement of operational proficiency, try to adjust more parameters and explore the advanced functions of the flight controller, and gradually grow into an "expert" in drone control.