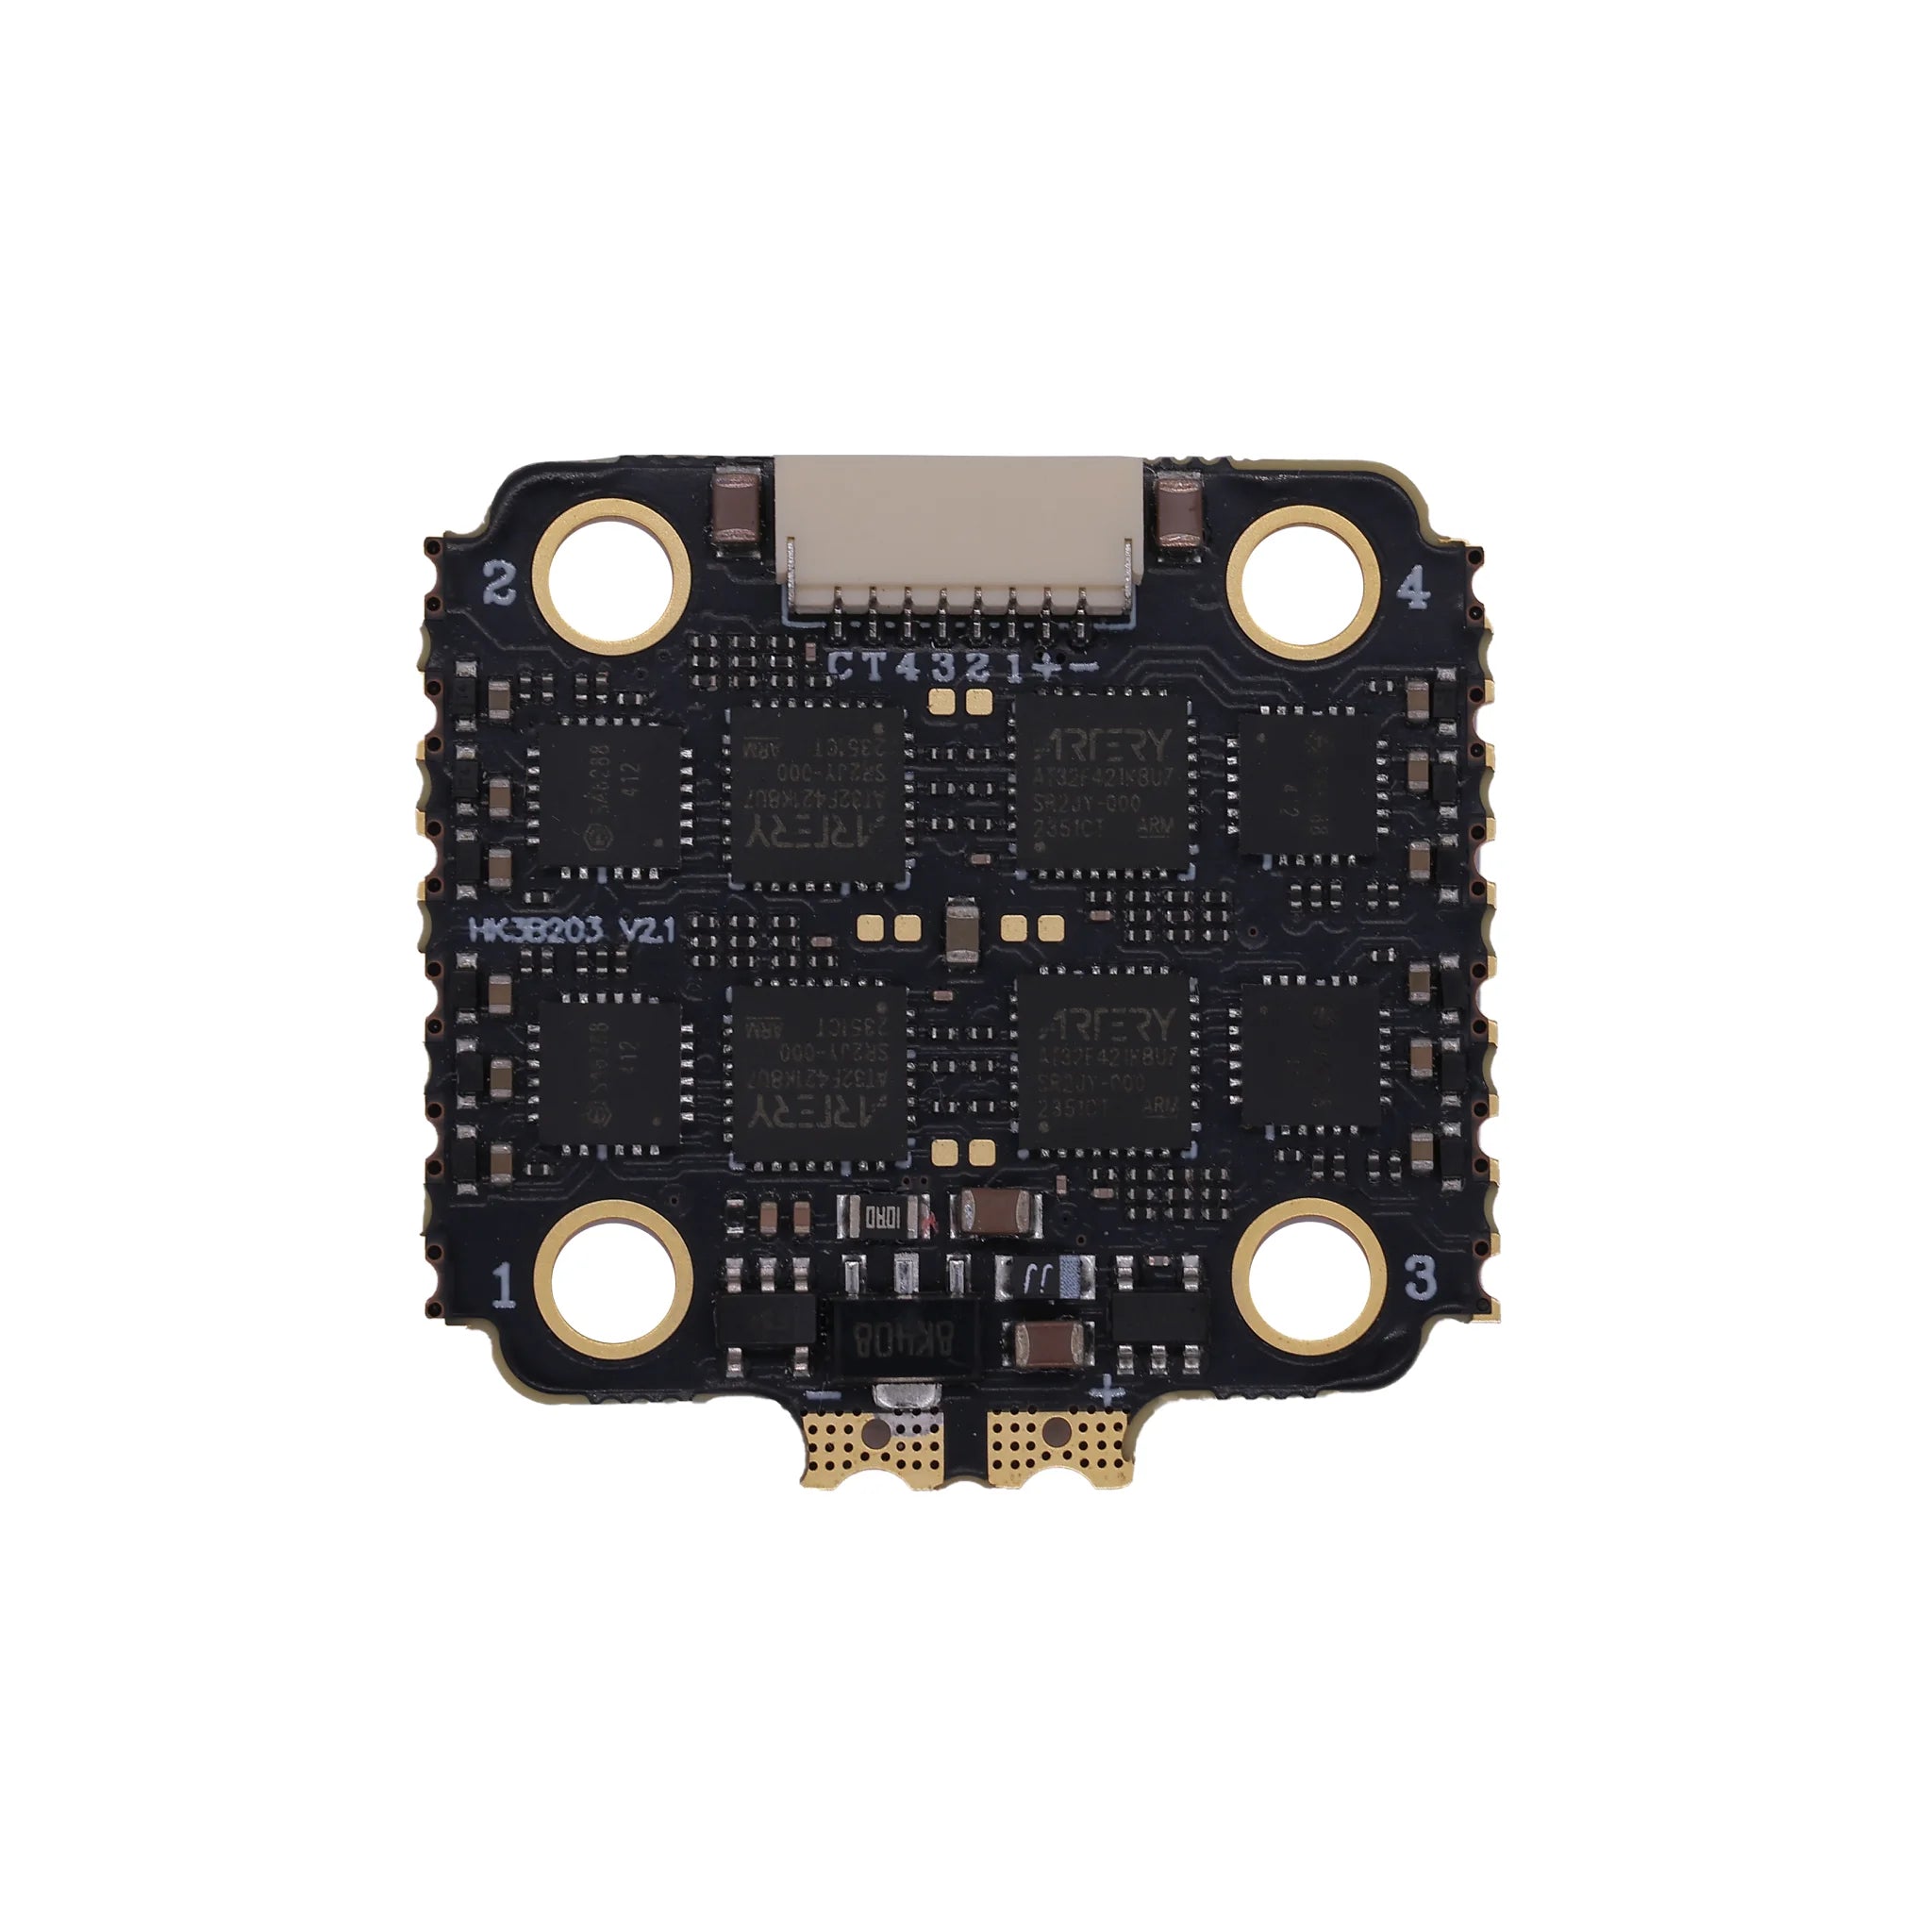
Hey, FPV pilots and builders! Welcome back to the NZFPV blog, your one-stop shop for leveling up your drone game. We know many of you are wielding soldering irons to connect power lines, motor wires, and receiver lines—but shaky welds, cold joints, or shorts can turn your quad into a smoking mess, frying your flight controller or ESC. Ouch! Today, we’re sharing pro tips on using a soldering iron correctly to achieve shiny, reliable solder joints every time. As your trusted FPV dealer, stocking Hakrc ESCs, STACKs, AIOs, and Fly Towers, we’re here to make your builds bulletproof. Let’s heat things up and solder like champs!
Choosing the Right Solder: Why Low-Temp Works Wonders
First, let’s talk about the star of the show: solder wire. We recommend low-temperature solder wire with a composition of 63% tin and 37% lead. Why? Its lower melting point (around 183°C) makes it beginner-friendly, with excellent flow for smooth, glossy joints that scream quality. The built-in rosin core acts as a flux, so you usually don’t need extra flux or rosin paste—keeping things simple and clean.

Pro tip: Always work in a well-ventilated area and use a fume extractor—safety first! At NZFPV, we stock high-quality solder wire perfect for FPV builds. Check it out in our shop!
Picking the Perfect Soldering Iron Tip
Next up, the soldering iron tip. Our go-to? A knife tip. Its flat, angled edge is versatile enough to tackle beefy power lines and tiny receiver wires with precision. Whether you’re soldering to a Hakrc ESC or a delicate receiver pad, this tip gets the job done.

Temperature settings are key:
-
Receiver and Motor Wires: Set your iron to 360–380°C. Hot enough to melt solder smoothly without scorching pads.
-
Power Lines: Crank it to max—420°C for most irons—to handle thicker wires and larger pads that suck up heat.
Keep your tip clean and tinned (coated with a thin layer of solder) to ensure fast heat transfer. A dirty tip is a recipe for cold joints!
Step-by-Step: Soldering Power Lines to Your ESC
Let’s get hands-on with soldering power lines to an ESC (like our NZFPVHakrc715580A4in1FPVESC or NZFPVHakrc12S50A4in1FPVESC). Follow these steps for rock-solid joints:
-
Prep the Power Wire: Strip 3–4mm of insulation from the wire’s end. Too long, and you risk shorts; too short, and it won’t grip well.

-
Tin the ESC Pad: Apply a small amount of solder to the ESC’s power pad (positive or negative). The rosin in the solder wire fluxes the pad, so no extra paste is needed. You’ll get a shiny, even layer.

-
Tin the Wire: Coat the exposed wire end with solder. This pre-tinning ensures a strong bond when you connect it.

-
Tin the Iron Tip: Before soldering, apply a thin solder layer to your iron’s tip. This boosts heat transfer, preventing slow melts that lead to cold joints.

-
Solder the Negative Wire: Place the tinned wire on the tinned negative pad. Heat with the iron until the solder melts and flows, forming a smooth, rounded, glossy joint. No gaps or dullness—those mean trouble!

-
Solder the Positive Wire: Repeat for the positive pad, ensuring another plump, shiny joint. Double-check for separation to avoid shorts.

Done right, your power connections will handle high currents (like the 80A or 120A bursts of our Hakrc ESCs) without a hitch.
Soldering Motor Wires: Precision Meets Power
Motor wires are similar but slightly smaller. For our NZFPVHakrc65AF7V2FlyTower or NZFPVHakrc5139100A4in1FPVESC, here’s the drill:
-
Strip 2mm of insulation from the motor wire—less exposure for cleaner work on smaller pads.

-
Tin the ESC’s motor pad, tin the wire, and tin your iron tip (same as above).
-
Solder each wire to its pad (M1–M4 or M5–M8 for larger setups). Aim for a compact, glossy joint that looks like a tiny silver dome.

Check your work: No solder bridges between pads, and each joint should feel solid when tugged gently.
Tackling Tiny Receiver Wires: Avoiding Solder Bridges
Receiver wires (like those for our NZFPVHakrcELRS2.4GExpressLRSReceiver) are tricky due to tiny pads on flight controllers like NZFPVHakrcF7220V2FlightController or NZFPVHakrcF4551FlightController. Overdo the solder, and you’ll get solder bridges (shorts). Here’s how to nail it:

-
Strip 1–2mm of wire, tin it, and tin the pad (e.g., SBUS or RX/TX).

-
Use minimal solder for a small, glossy joint.
-
Got a bridge? Heat your iron to 360°C, press it between the pads, and drag the excess solder away. Clean and quick!
Why Good Joints Matter: Save Your Gear
Cold joints (dull, brittle connections) or shorts can spell disaster—think smoking ESCs or fried flight controllers. Quality soldering ensures reliable power delivery, especially for high-current setups using our NZFPV Hakrc 3220 65A 4in1 FPV ESC. These ESCs demand solid connections to handle their 65A–120A ratings, keeping your quad soaring safely.
Recommended Gear from NZFPV
To make your soldering shine, pair your skills with our top Hakrc products:
-
NZFPV Hakrc12S 50A 4in1 FPV ESC: Built for high-voltage (up to 12S) builds, ideal for thick power lines.
-
NZFPV Hakrc 65A F7 V2 FlyTower: A compact STACK with ESC and FC, requiring precise motor and power soldering.
-
NZFPV Hakrc F7220 V2 Flight Controller: A reliable FC with small pads for receiver lines—practice your bridge-busting skills here!
Browse our full range of ESCs, STACKs, AIOs, and FLY TOWERS at NZFPV for gear that matches your soldering prowess.
Final Spark: Solder Smart, Fly Safe
Great soldering is the backbone of a reliable FPV drone. With low-temp 63/37 solder, a knife tip, and the right temps (360–380°C for receivers/motors, 420°C for power), you’ll craft joints that are strong, shiny, and short-proof. Avoid the heartbreak of smoked electronics and build with confidence.
At NZFPV, your Hakrc dealer, we’re here to power your passion with top-notch gear and advice. Got soldering woes or build questions? Drop them in the comments! Subscribe for more—next, we tackle FC firmware tuning. Happy soldering and safe skies!


