Building an FPV (First-Person View) drone combines hardware assembly and software configuration. For beginners, it not only requires mastering basic electrical and mechanical knowledge but also avoiding equipment damage or safety risks caused by careless mistakes. This article breaks down the key points beginners need to focus on throughout the assembly process, helping you avoid detours and start safely.
Hardware Assembly: Avoid the Two Major Risks of "Component Damage" and "Instability"
Hardware serves as the "skeleton" of the drone. Minor mistakes during assembly can directly lead to component damage or flight instability. Beginners should focus on the following 4 aspects:
Wiring: Don’t Let "Positive/Negative Polarity" Become a "Component Killer"
Incorrect wiring is the most common and consequential mistake for beginners — reversing positive/negative polarity or plugging into the wrong port can instantly damage core components like the flight controller and ESC. Always follow these "three confirmations" before assembly:
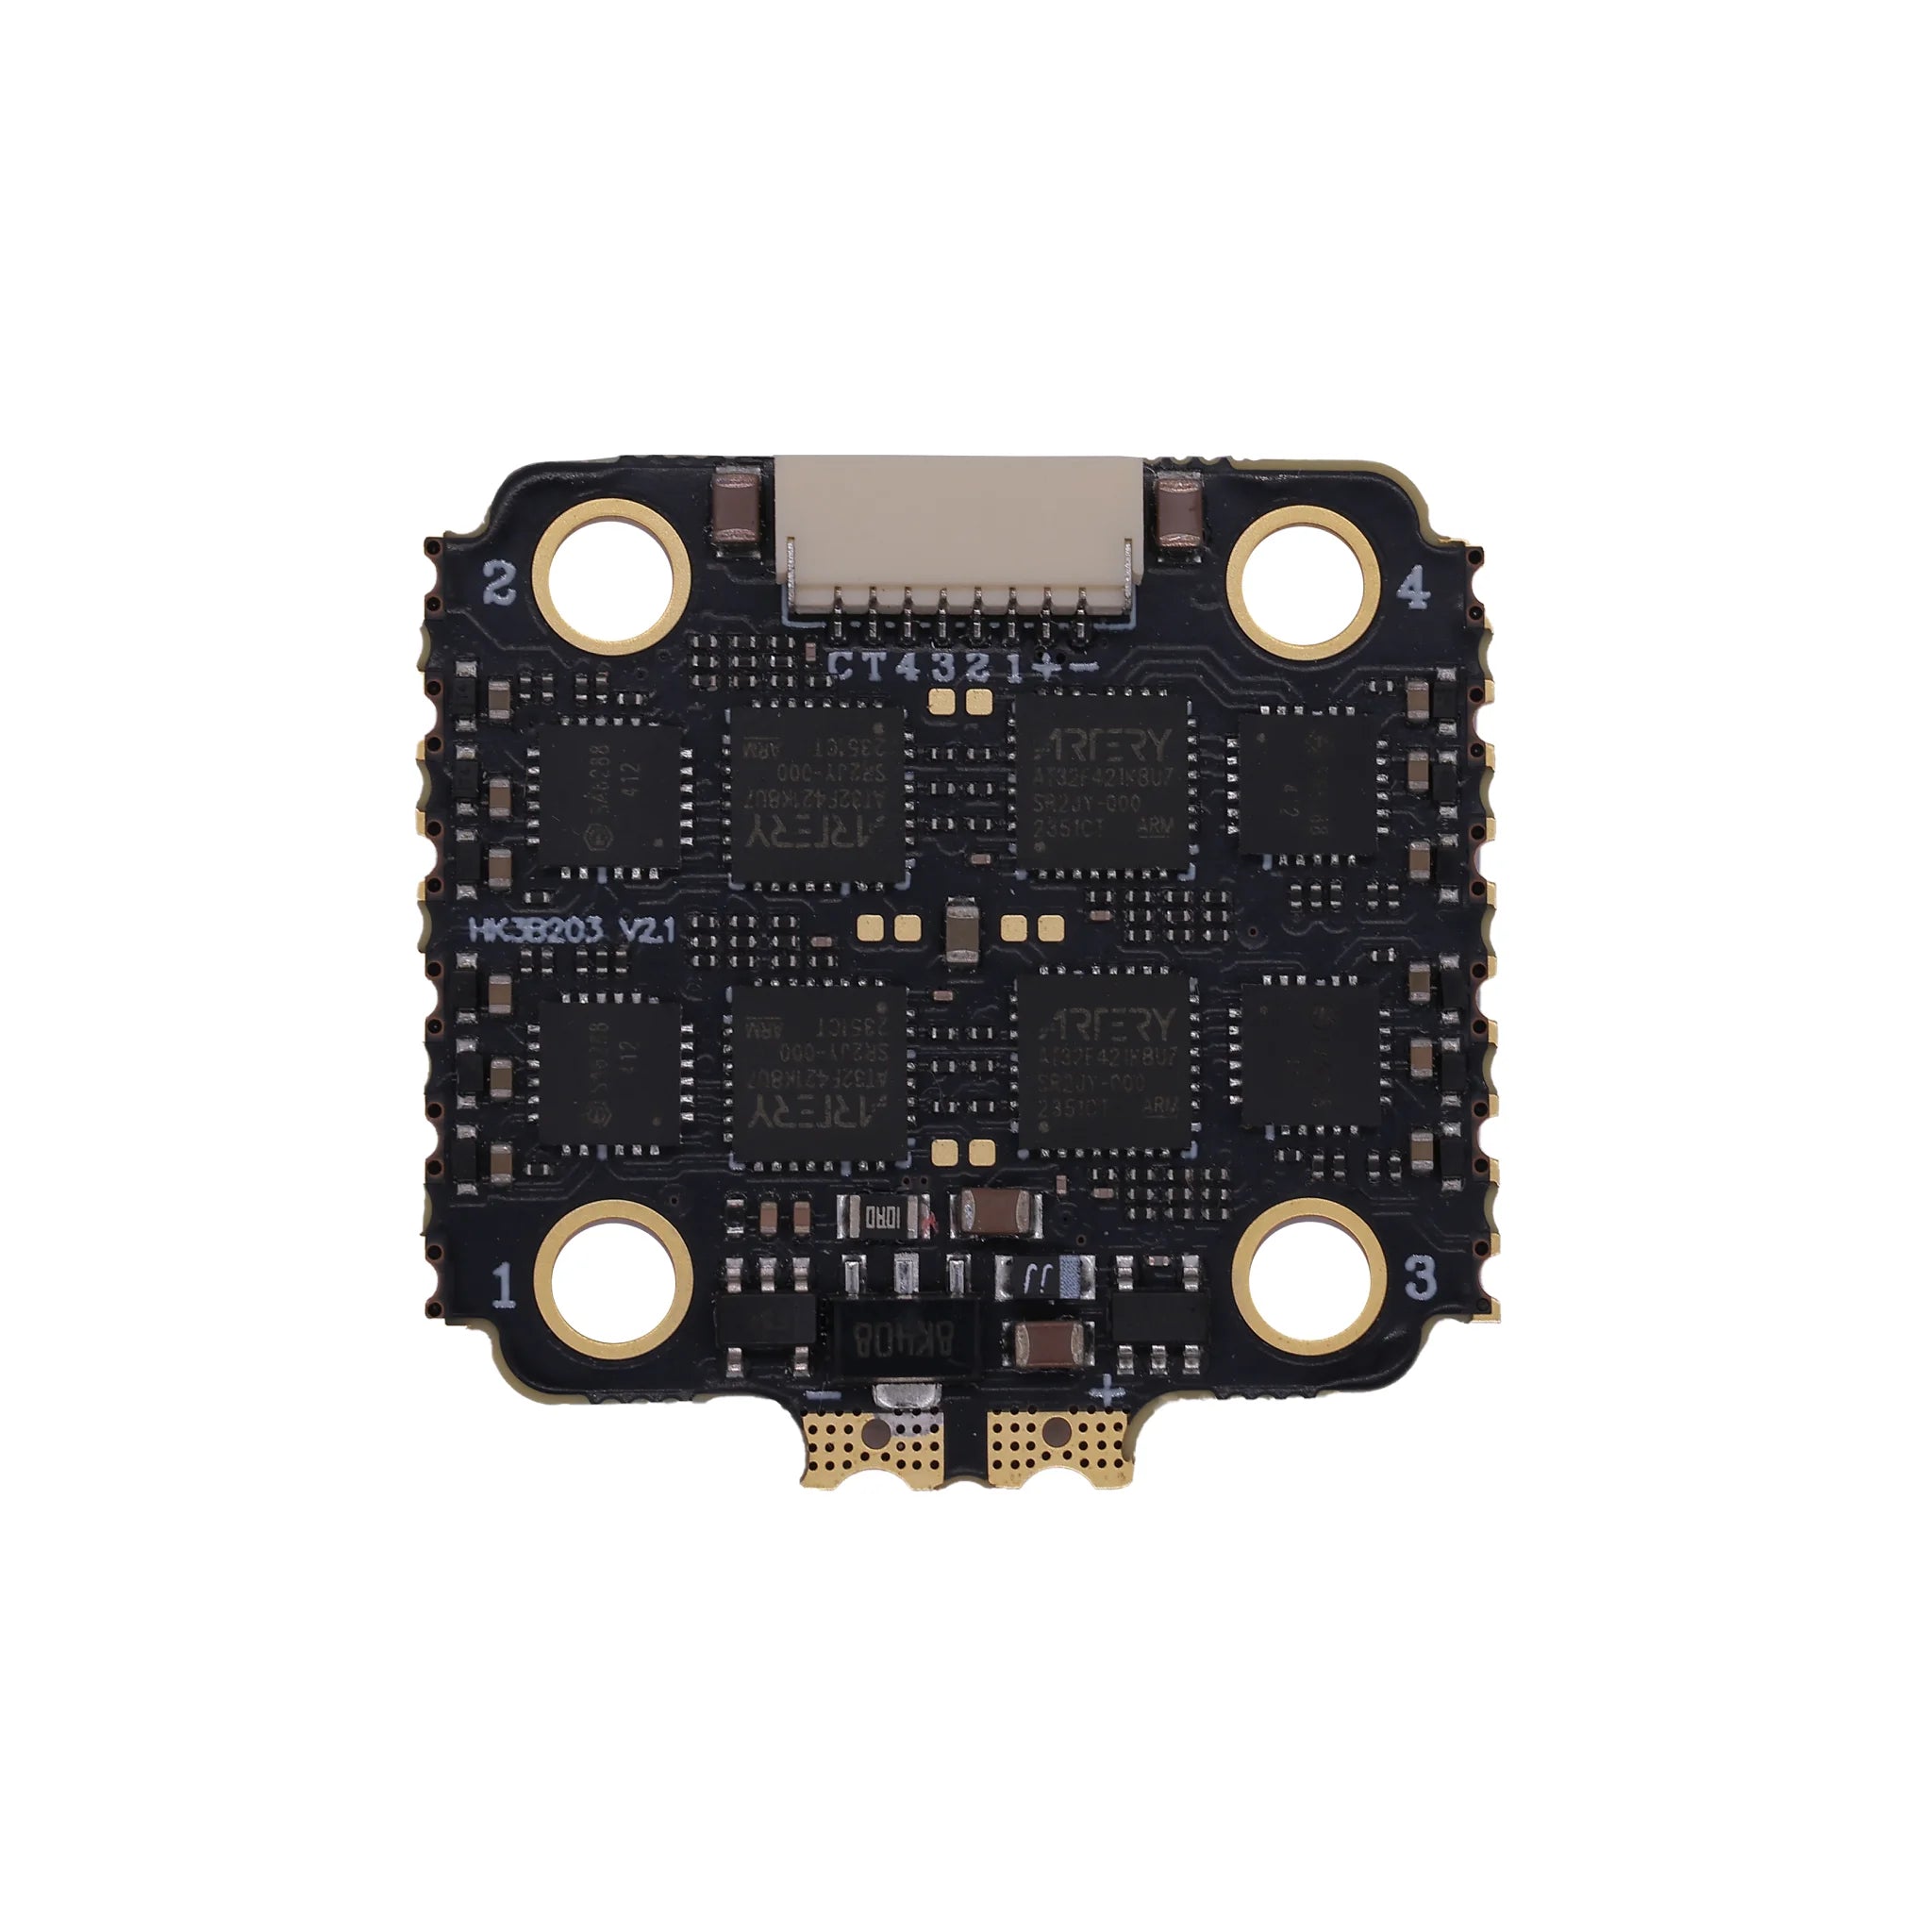
Confirm Port Definitions: First, refer to the component manual to label key ports on the flight controller and ESC (e.g., "VBAT" on the flight controller is for battery input, "5V BEC" for peripheral power supply, and "Motor 1-4" for motor signal ports). Never plug wires based on memory. For example, the "VBAT" port on the Hakrc F4530V2 flight controller requires the red wire to connect to the battery’s positive terminal and the black wire to the negative terminal; reversing them will immediately burn the built-in voltage regulator.
Mark Critical Wires: Use electrical tape or a marker to label the function of wire ends (e.g., "5V for VTX" or "Receiver SBUS"). Especially for motor signal wires, align them with the flight controller’s ports in the order of "1-2-3-4" to prevent motor rotation confusion due to misconnection.
Low-Voltage Test First: After wiring for the first time, use a 3S battery (instead of higher-voltage 4S/6S batteries) to power on, and temporarily disconnect the motor signal wires (to avoid accidental motor activation). Check if the flight controller’s indicator lights work normally (no smoke or overheating) before reconnecting the motors.
Soldering: Cold Solder Joints = "Mid-Air Failure", Short Circuits = "Instant Ruin"
Beginners often struggle with soldering, leading to cold solder joints (poor contact) or short circuits (solder residue buildup). These issues can cause sudden signal loss or motor shutdown during flight. Master soldering by focusing on "tools + steps + inspection":
Choose the Right Starter Tools: Use a 60W temperature-controlled soldering iron (set to 350-380°C; excessive temperature damages ports), 0.8mm rosin-core solder wire (contains flux to reduce cold joints), and pair it with desoldering braid (to clean excess solder) and tweezers (to hold wires).
Master the "Pre-Solder → Align → Solder" Three-Step Method: First, apply a thin layer of solder to the flight controller’s pins (pre-soldering to enhance conductivity); strip 1-2mm of copper core from the wire, align it with the pin, and use the iron to heat both the pin and copper core simultaneously. Once the solder melts and covers the joint, remove the solder first, then the iron to avoid "sharp tips" on the solder joint.
Mandatory Post-Soldering Inspection: Gently pull the wires with tweezers to ensure the solder joints do not come loose; use a magnifying glass to check for solder residue between pins (especially dense pins on the flight controller). If residue exists, clean it with desoldering braid to prevent short circuits.
Component Matching: Don’t Let "KV Value" or "Current" Be Incompatible
Mismatched parameters between the motor, ESC, and battery can cause insufficient power, ESC burnout, or control loss. Beginners must remember this "matching logic":
Motor & ESC: Leave Current Margin: The motor’s "maximum current" must be less than the ESC’s "continuous current". For example, a common 2205 2300KV motor (with a maximum current of approximately 25A) requires an ESC of 30A or higher (such as the Hakrc 30A 4-in-1 ESC) to avoid ESC overheating protection; using a 20A ESC may burn it due to overload during flight.
Motor & Battery: KV Value × Cell Count Must Match: The motor’s KV value (rotations per volt) × battery cell count (3.7V per cell) ≈ actual rotation speed, which must match the propeller size. For example, a 2205 2300KV motor + 3S battery (11.1V) has a rotation speed of approximately 25,530 RPM, suitable for a 5045 propeller; using a 4S battery (14.8V) increases the speed to 34,040 RPM, easily causing the propeller to "spin out of control" and making it hard to maneuver.
Motor Rotation Direction: Calibrate to "X-Frame" Logic: The four motors must follow the "front-left/rear-right clockwise, front-right/rear-left counterclockwise" rotation logic (universal for X-frame drones). After assembly, remove the propellers, power on the drone, and click "Motor Test" in the Betaflight "Motors" tab to check rotation direction. If incorrect, swap any two phase wires of the motor.
Flight Controller Vibration Damping: Don’t Let "Vibration" Ruin Stability
The flight controller’s gyroscope is extremely sensitive to vibration. Poor or excessive damping causes "attitude drift" — the drone tilts to one side after takeoff and cannot hover stably. Follow these three tips for proper damping:
Isolate Vibration with "Silicone Columns + Damping Mount": Do not attach the flight controller directly to the carbon fiber frame (carbon fiber conducts vibration strongly). Instead, fix it to a 3D-printed damping mount, then connect the mount to the frame using 4 silicone columns with a hardness of 50-70 Shore (too hard provides no damping; too soft causes excessive wobble).
Ensure the Flight Controller Is Level: Use a level tool to confirm the flight controller’s surface is parallel to the frame during installation. If the frame is slightly deformed, perform "Level Calibration" in the Betaflight "Configuration" tab (place the drone on an absolutely level surface before calibration).
Test Vibration Levels: After powering on, check the "IMU Vibration Waveform" on the right side of the Betaflight "Motors" tab without starting the motors. If the waveform amplitude exceeds 10, inspect for loose damping mounts or abnormal frame noise and adjust promptly.
Software Configuration: Don’t Let "Missing Settings" Ruin the Flight
After hardware assembly, software configuration determines whether the drone "can fly safely". Beginners must not overlook these 3 key settings:
Enable "Failsafe": Avoid Losing the Drone
Without failsafe settings, the drone may fly away or crash if the remote control signal is lost. Follow these steps to set it up:
Enter the Betaflight "Receiver" tab and enable "Fail-safe";
Select "Motors slow down gradually after failsafe" (instead of stopping immediately, to avoid damaging the motor from high-speed rotation during a crash);
Test: Power on the drone, turn off the remote control, and check if the motors slow down as set to confirm the failsafe works.
Calibrate "Remote Control & VTX": Don’t Let "Wrong Channel" or "Mixed Modes" Cause Issues
Remote Control Stick Mode Calibration: Most beginners are accustomed to "Mode 2 (American Hand)" — the left stick controls throttle (up/down) and yaw (left/right), while the right stick controls pitch (up/down) and roll (left/right). Set Mode 2 in the remote control menu, then push the sticks in the Betaflight "Receiver" tab to check if the corresponding channel waveforms change synchronously (e.g., pushing the throttle increases the "Throttle" channel waveform).
VTX Channel Alignment: The Hakrc 5.8G VTX supports 6 frequency bands (A/B/E/F/R/L) and 8 channels. First, switch the channel via the VTX buttons (e.g., A1), then select the same channel on the FPV goggles to ensure a clear, snow-free image. If there is no image, first check if the VTX power supply is normal.
Optimize "Basic Parameters": Reduce Maneuvering Difficulty
Beginners do not need to over-adjust advanced parameters like PID, but must complete these 2 basic settings:
Enable "Angle Mode": In the Betaflight "Modes" tab, bind "Angle Mode" (self-stabilization mode) to a remote control switch. Use Angle Mode for the first test flight — the drone automatically corrects its attitude, reducing maneuvering difficulty.
Calibrate "Throttle Range": In the Betaflight "Receiver" tab, click "Calibrate" and follow the prompts to push the throttle to maximum, then pull it to minimum to complete calibration (avoids unstable motor speed caused by inaccurate throttle signals).
Safe Operation: Adhere to the Principle of "No Injury, No Equipment Damage"
FPV flight involves high-speed rotating propellers and flammable lithium batteries. Beginners must remember these safety rules:
Before Powering On: Remove Propellers First
Always remove all propellers when testing motors or calibrating parameters — plastic propeller edges are sharp, and accidental motor activation (common for beginners who mistakenly push the throttle) can cut your fingers. Only install the propellers when all settings are confirmed correct and you are ready for the test flight. After installation, check that they are secure (no looseness).
Lithium Batteries: Don’t Let "Overcharging/Over-Discharging" Cause Danger
Lithium batteries are the "energy core" of FPV drones; improper use can cause swelling or fire:
Use a Balance Charger: Choose a charger that supports balance charging (e.g., Hakrc B6AC Pro). The maximum charging voltage for a 3S battery is 12.6V (4.2V per cell). Avoid "direct charging with a fast charger" (lacks overcharge protection).
Avoid Over-Discharging: Monitor the battery voltage via the VTX OSD during flight. For a 3S battery, return to home immediately if the voltage drops below 10.5V (3.5V per cell) — over-discharging permanently damages the battery.
Dispose of Damaged Batteries Promptly: Do not use swollen or leaking batteries. Place them in a fireproof bag and discard them to avoid short-circuit fires.
Test Flight: Choose the Right Location and Start "Slowly"
Location Requirements: For the first test flight, choose an open, unobstructed area with no people (e.g., an empty playground). Stay away from high-voltage lines, trees, and buildings to avoid crashes from loss of control.
Flight Rhythm: First enable Angle Mode, hover at low altitude (no higher than 2 meters), and get familiar with the feel of controlling the throttle and direction. Gradually practice small turns and altitude changes; avoid sudden stick movements that cause loss of control.
Emergency Handling: If the drone’s attitude becomes abnormal (e.g., tilting to one side), immediately reduce the throttle and land slowly. Do not force control. After landing, check if any hardware is loose.
Post-Assembly Checklist: Identify Hidden Risks
To avoid missing key steps, use this checklist to verify everything before powering on the drone for a test flight:
Wiring: No reversed positive/negative polarity, no wire tension, and all ports fully plugged in;
Soldering: No cold solder joints or short circuits; wires do not come loose when pulled with tweezers;
Motors: Rotation direction matches X-frame logic; propellers are securely installed;
Flight Controller: Placed level, no loose silicone damping columns, and IMU vibration value ≤ 10;
Software: Failsafe enabled, correct remote control stick mode, and VTX channel aligned with goggles;
Safety: Propellers removed (for debugging) / installed (for flight), normal battery voltage (≥11.1V for 3S), and safe flight location.

Hakrc 50A F7 V2 Fly Tower

Surpasshobby S2207-1950KV Brushless Motor
Conclusion
For beginners, the core of FPV drone assembly is not "speed" but "stability" — confirm every step with the manual, take safety precautions before each power-on, and practice basic maneuvering during each test flight. You may encounter wiring errors or configuration failures initially, but with patience and reference to community tutorials (e.g., FPV beginner videos on Bilibili or the Reddit FPV community), you will gradually master assembly skills and enjoy the fun of first-person view flight. Remember: Safety always comes first — only with stable equipment and standard operations can you fly with peace of mind.