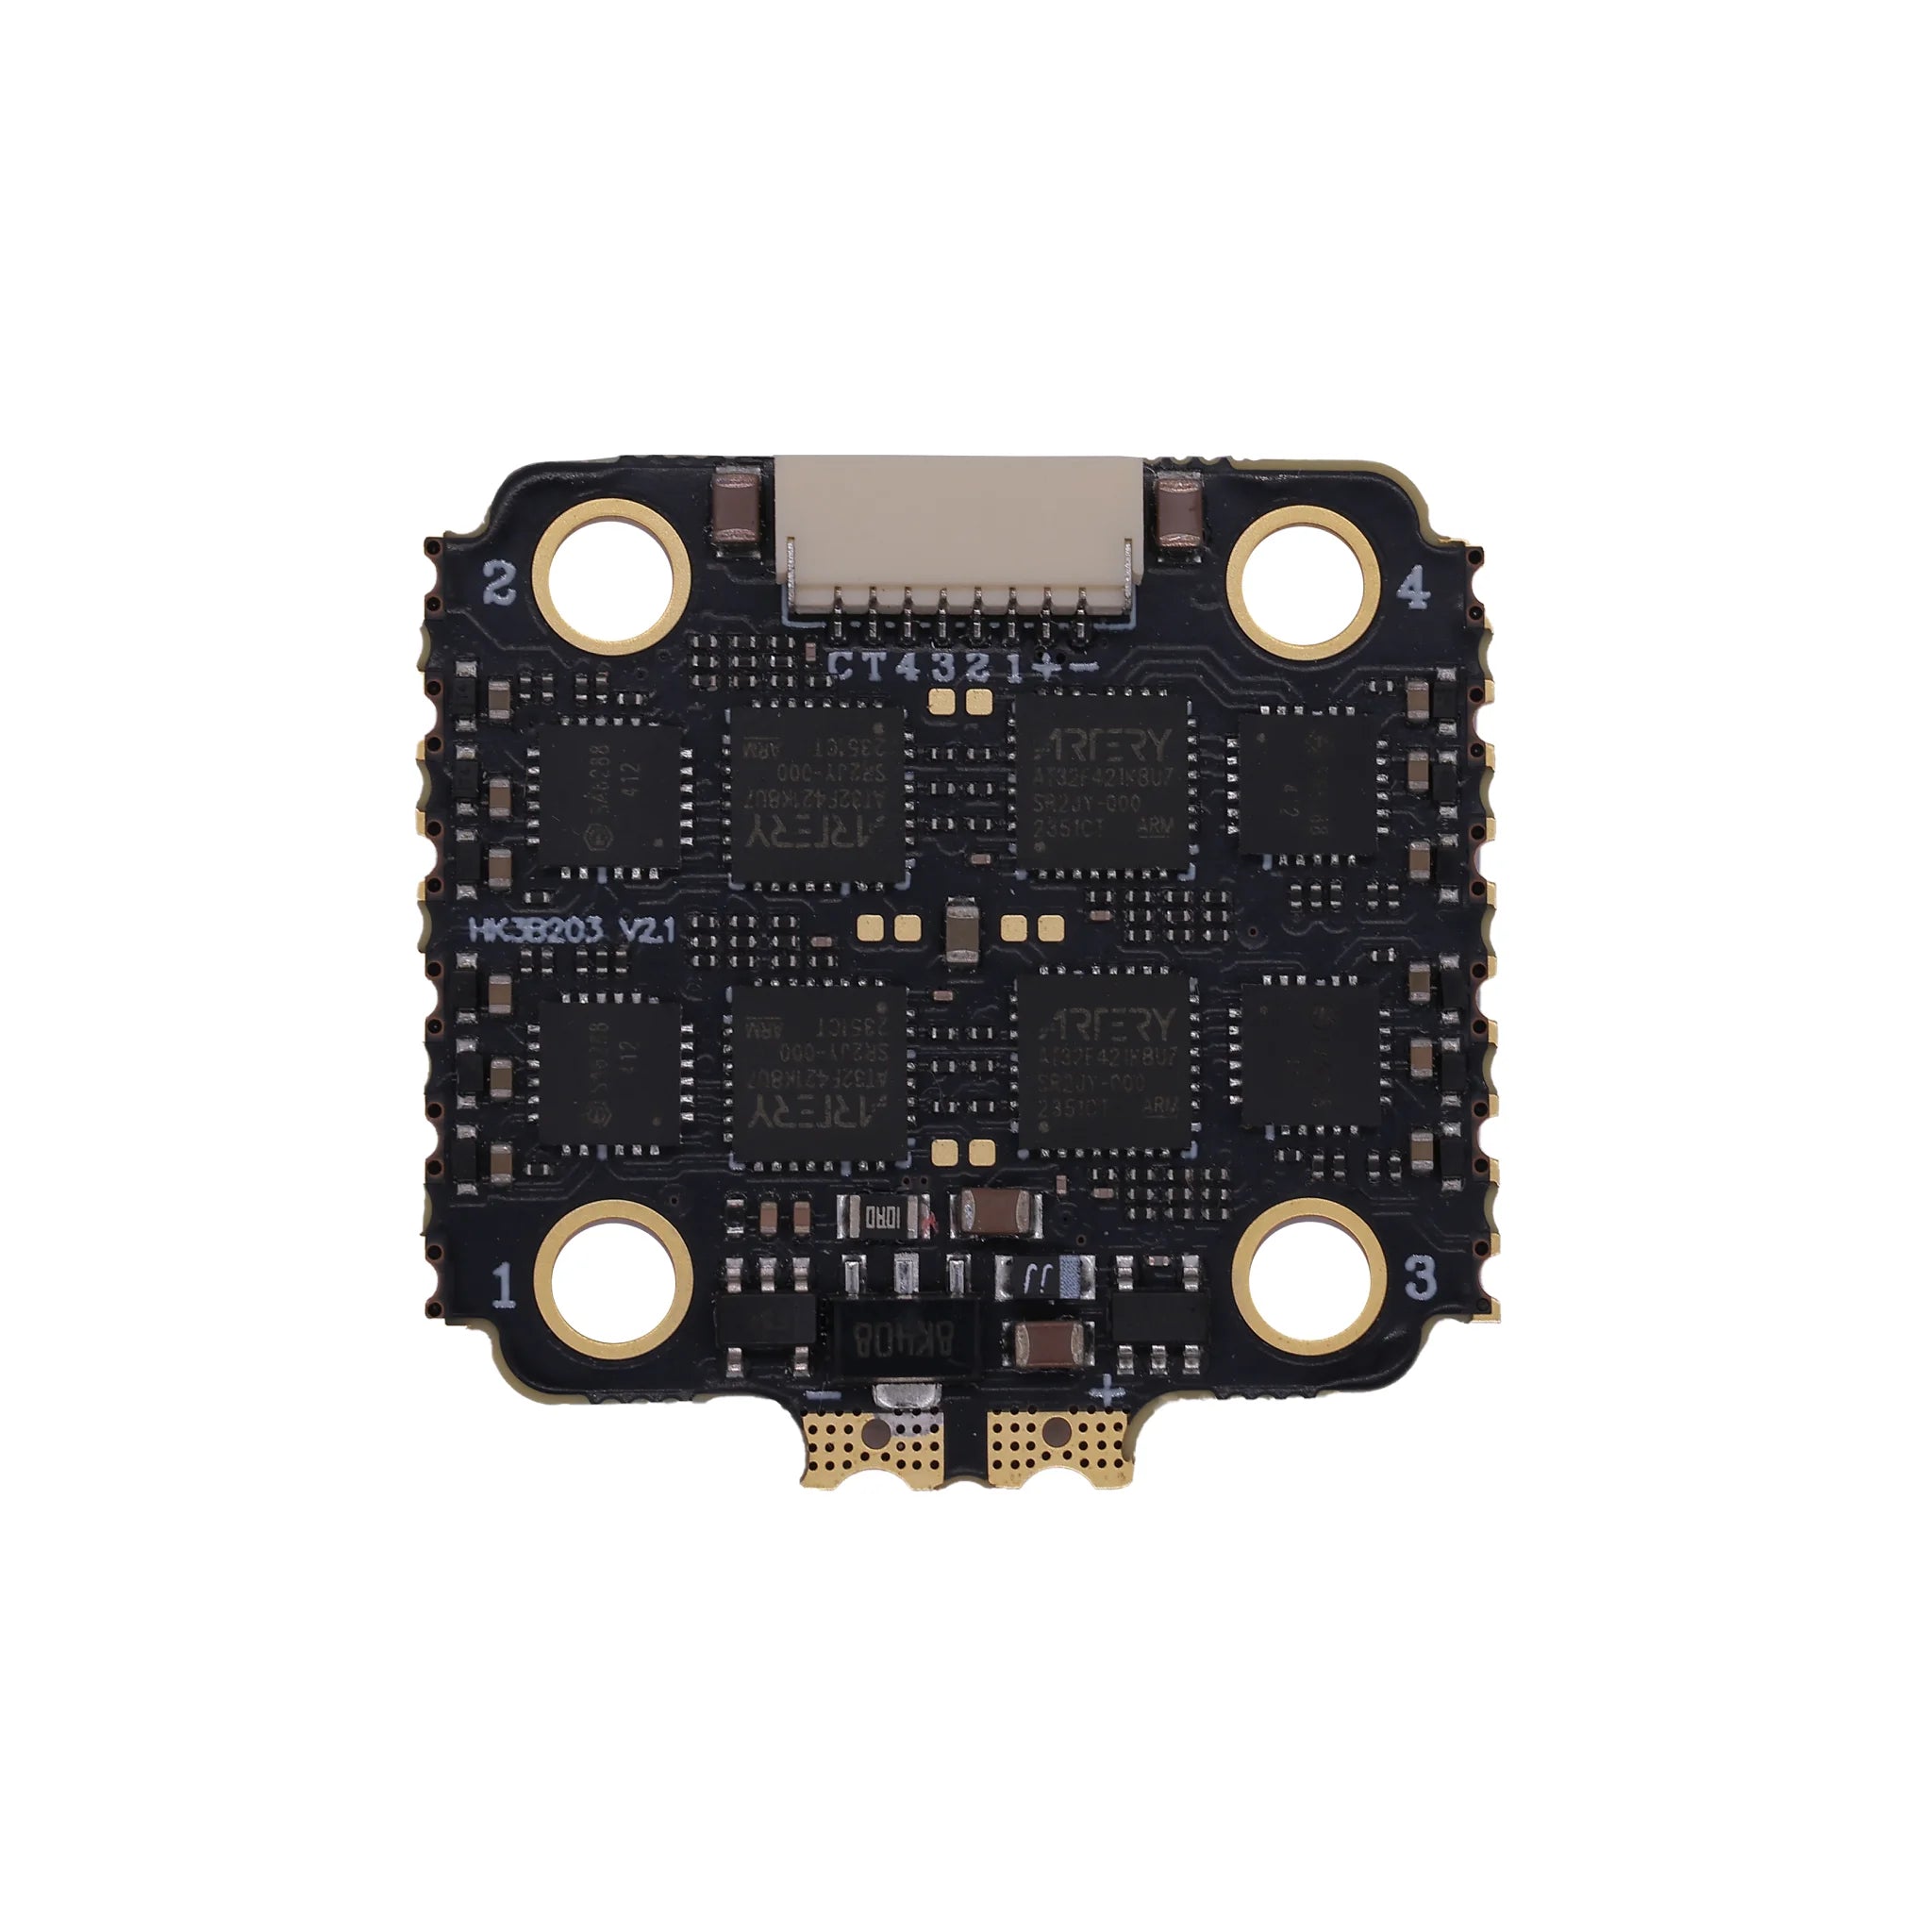
Hey, FPV drone builders and enthusiasts! Welcome back to the NZFPV blog, where we make complex tech feel like a thrilling flight. Today, we're decoding one of the most essential yet often overlooked parts of your FPV setup: flight controller pads. If you've ever stared at those tiny labels on your FC (flight controller) wondering what "G," "BAT," or "VTX" means, this post is for you. As your go-to FPV accessories dealer, we stock everything from ESCs and STACKs to AIOs and FLY TOWERS, and we're here to help you wire up like a pro. We'll break it down pad by pad, keeping it professional, fun, and super practical. Let's plug in and take off!
Starting with the Basics: Power Pads (Positive and Negative)
Every flight controller is like the brain of your drone, and it all starts with power. The most common pad you'll see? G—short for GND (Ground), which is your negative (-) terminal. Think of it as the "return path" for electricity; without a solid ground, your drone's just a fancy paperweight.

On the flip side (pun intended), positive (+) pads come in various flavors: 3V3, 4V5, 5V, 9V, and BAT. These supply regulated voltage to different components:
- 3V3/4V5/5V/9V: Stable voltages for sensors, receivers, or cameras—pick the one that matches your gear's needs.
- BAT: This one's dynamic! It outputs whatever voltage your battery is providing (e.g., 4S at 16.8V fully charged). Perfect for high-power stuff like VTXs that can handle variable voltage.

Pro tip: Always double-check polarity—mixing + and - is a quick way to fry your FC. We've seen it in the shop; trust us, it's not fun!
Camera and Video Pads: Capturing the Action
Moving along the board, let's spotlight the camera section. You'll often find CAM (short for Camera), which connects to your analog camera's signal line. Pair it with a 5V positive and GND, and boom—your FPV feed is live!

Next to it might be CC, a one-time-use pad for camera configuration (like tuning settings). Most analog cams just need those three basics: 5V, GND, and CAM. Simple, right? This setup grabs your flight footage, overlays OSD (On-Screen Display) info like battery voltage or GPS, and sends it out.

Speaking of output, meet VTX (Video Transmit). "V" for video + "TX" for transmit = your analog video signal port. It takes the processed camera feed from CAM, adds OSD magic on the FC, and pipes it to your VTX module. From there, it's beamed to your goggles for that immersive FPV view. If you're rocking digital like DJI O3, you might skip some of these, but analogs keep it classic and affordable.
Serial Ports and Receiver Pads: Communication Central
Now, onto the data highways: serial ports! Look for pads like R3/T3 (UART3 in Betaflight or iNav software). R is RX (Receive data), T is TX (Transmit data). Together, they form a two-way comms channel for things like GPS modules or receivers.

Similarly, R2/T2 is UART2—same deal, different port. These are crucial for modern receivers using protocols like CRSF (Crossfire) or ELRS (ExpressLRS), which bundle everything (including RSSI signal strength) into serial data. No extra wires needed!
But what about RS? That's for RSSI (Received Signal Strength Indicator) on older receivers. If you're on ELRS or TBS Crossfire, skip it—their serial protocols already include RSSI data.

Then there's SBUS—a single-pad wonder for receiver comms. It's efficient and used in DJI Air Units (like O3). If you've got a DJI FPV remote and Air Unit, no separate receiver required. Plug into SBUS, and you're golden for that seamless digital experience.

Motor and Telemetry Pads: Powering Your Props
Flip your FC over (carefully!), and you'll spot motor pads like M5-M8 for motors 5 through 8—ideal for connecting a second 4-in-1 ESC in larger builds. Nearby, TEL (Telemetry) pulls data from your ESCs, like RPM or current draw, for real-time monitoring in your OSD.

On the primary ESC side, it's often abbreviated as T for telemetry. These pads keep your multi-rotor humming smoothly, especially in STACK or FLY TOWER setups.

Bonus: S9 is an extra PWM output for goodies like servos. Want a pan-tilt camera? Hook it here for controlled movements.

Advanced Pads: Sensors, Lights, and Buzzers
Diving deeper:
- SDA/SCL: I2C bus pins (SDA for data, SCL for clock). These sync up sensors like magnetometers (for compass heading) or ultrasonic modules for altitude hold. Essential for autonomous flights!

- LED: Controls LED strips or pads on the FC corners. Customize colors for arm/disarm signals or just for flair—make your drone glow like a UFO.

- BZ+ / BZ-: For a 5V passive buzzer. + to positive, - to negative. It beeps for low battery, lost signal, or mode changes—your audible safety net.

Wrapping It Up: Master Your FC Pads for Epic Builds
There you have it—a pad-by-pad tour of your FPV flight controller! From powering up with GND and BAT to beaming video via VTX, these labels turn a confusing board into a customizable powerhouse. Whether you're wiring a freestyle rig or a cinematic beast, understanding these will save you time, frustration, and maybe a few smoked components.

At NZFPV, as your trusted FPV dealer, we're passionate about equipping you with top gear like flight controllers, ESCs, STACKs, AIOs, and Fly towers. Got questions on wiring or compatibility? Drop a comment or hit our shop—we've got demo videos and expert advice ready.
Pilots, what's the trickiest pad you've wired? Share below! Subscribe for more guides—next, we tackle OSD setups. Safe soldering and happy flying!


